Why You’ll Love This Homemade Protein Bars Recipe
If you’re looking for a nutritious snack that’s both delicious and easy to make, you’ll love this homemade protein bars recipe. I can’t get enough of these bars!
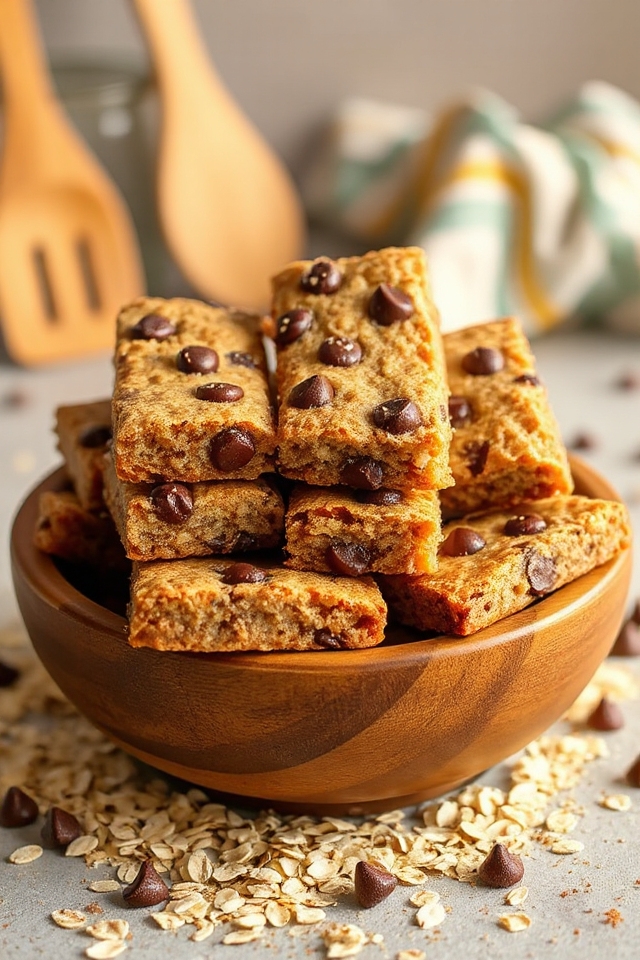
They’re packed with protein, making them perfect for a post-workout boost or a midday pick-me-up. Plus, I love how customizable they are; you can easily switch out ingredients to suit your taste.
The combination of oats and chocolate chips creates a satisfying texture and flavor that keeps me coming back for more. Best of all, I control what goes in, so I know I’m fueling my body with the good stuff.
Ingredients of Homemade Protein Bars
Making your own protein bars at home isn’t only a rewarding experience, but it can also result in some seriously tasty snacks. If you’re like me, you might sometimes find yourself staring blankly at the snack aisle, trying to decipher which bar is actually good for you.
With this homemade protein bars recipe, you get to be the boss of your own ingredients, and let me tell you, it feels great. Plus, you can customize them to your liking. Who doesn’t want to add a bit more chocolate or maybe some nuts?
Here’s what you’ll need to whip up these delightful bars:
- 1 nonstick cooking spray
- 1 cup powdered soy protein concentrate
- 1/2 cup unbleached all-purpose flour
- 2 cups rolled oats
- 1/2 cup oat bran
- 1/2 teaspoon cinnamon
- 3/4 teaspoon salt
- 1/2-2/3 cup brown sugar (packed)
- 1 cup semi-sweet chocolate chips
- 1 1/2 cups plain yogurt (or vanilla)
- 1/4 cup canola oil
- 2 teaspoons vanilla extract
Now, before you get started, let’s chat about some ingredient considerations. First off, the choice of protein powder can really change the game. I usually go for soy protein, but feel free to swap in your favorite – whether it’s whey, pea, or even a plant-based mix.
Just keep in mind that different proteins can have varying flavors and textures, so your bars may turn out a bit different. And if you’re not a fan of chocolate (gasp!), you can easily replace those chocolate chips with dried fruits or nuts for a different twist.
The beauty of this recipe lies in its versatility, so don’t hesitate to make it your own. Happy baking!
How to Make Homemade Protein Bars
Alright, let’s plunge into making these delicious homemade protein bars. First things first, you’ll want to preheat your oven to 350 degrees Fahrenheit (or 325°F if you’re using a glass pan—because we all know glass can be a bit temperamental).
While that’s heating up, grab a 9-by-13-inch baking pan and give it a light spray with nonstick cooking spray. This will help your bars pop out easily later on.
Now, in a large bowl, let’s get mixing. Combine 1 cup of powdered soy protein concentrate, 1/2 cup of unbleached all-purpose flour, 2 cups of rolled oats, 1/2 cup of oat bran, 1/2 teaspoon of cinnamon, and 3/4 teaspoon of salt. Give it a good stir and then crumble in 1/2 to 2/3 cup of packed brown sugar. You might feel a bit like a baker in a cooking show as you rub those clumps of sugar with your fingers. It’s therapeutic, really.
Once that’s all mixed, toss in 1 cup of semi-sweet chocolate chips because, let’s be honest, what’s life without a little chocolate?
Next, in a separate bowl, combine 1 1/2 cups of plain yogurt (or vanilla, if you’re feeling adventurous), 1/4 cup of canola oil, and 2 teaspoons of vanilla extract. Stir this mixture until it’s well combined.
I often find myself wondering why I didn’t just buy protein bars instead of making them, but the satisfaction of knowing I made this from scratch usually wins me over.
Pour this wet mixture into the dry ingredients and mix it all together until it’s thoroughly blended. You might’ve to use your hands—yes, it will be thick and doughy, but that’s okay. Just think of it as a mini workout.
Once everything is combined, transfer the mixture into the prepared pan and pat it down evenly.
Pop it in the oven for 15 minutes, then take it out and cut it into bars of your desired size. This is where the magic happens.
Put those bars back on a baking tray and bake for another 15 minutes until they’re golden around the edges. For those of you who like a bit of crunch, you can turn off the oven and let them hang out in there for an extra 45 minutes.
Once they’re cool, you can indulge right away or store them in a heavy zip-style plastic bag in the freezer for later.
And trust me, reheating them in the toaster oven after defrosting is like a warm embrace on a chilly day. So, are you ready to give this a go? Happy baking!
Homemade Protein Bars Substitutions & Variations
While you might’ve your go-to recipe for homemade protein bars, experimenting with substitutions and variations can elevate your snacks to a whole new level.
For a nut-free option, swap in sunflower seed butter for nut butter. If you prefer a vegan approach, use plant-based yogurt and maple syrup instead of brown sugar.
Feel free to mix in dried fruits, seeds, or even spices like nutmeg for a unique twist. You can also switch chocolate chips with dried coconut or cacao nibs for different flavors.
The possibilities are endless, so have fun and create a bar that suits your taste!
What to Serve with Homemade Protein Bars
When I enjoy my homemade protein bars, I often pair them with complementary foods to enhance the experience.
Fresh fruit, like sliced bananas or berries, adds a revitalizing contrast and boosts nutrients. I sometimes grab a dollop of Greek yogurt, which provides extra protein and creaminess.
A warm cup of herbal tea or a smoothie makes for a satisfying drink option. If I’m in the mood for something crunchy, a handful of nuts or seeds works perfectly.
These pairings not only elevate the flavors but also keep me feeling full and energized throughout the day. Enjoy experimenting with your favorites!
Additional Tips & Notes
Pairing my homemade protein bars with fresh fruits or yogurt is always a treat, but there are a few tips that can enhance both the preparation and enjoyment of these bars.
First, feel free to mix in your favorite nuts or seeds for added crunch and nutrition. If you prefer a sweeter bar, adjust the brown sugar to your taste.
Remember to let the bars cool completely before cutting for cleaner edges. For storage, I recommend freezing them in individual portions for quick grab-and-go snacks.
Finally, experimenting with different flavor extracts can bring a fun twist to your protein bars!