Why You’ll Love This Homemade Yogurt Recipe
If you’ve ever tasted homemade yogurt, you know it’s a game changer. The creamy texture and rich flavor are simply unbeatable compared to store-bought options.
Plus, making it at home means I can control the ingredients, ensuring it’s as healthy as I want. I love the thrill of creating something so delicious from just milk and a bit of yogurt.
The best part? It’s incredibly easy to customize! Whether I’m adding fresh fruit, honey, or my favorite jam, each batch feels unique.
Once you try it, you’ll wonder why you didn’t start making yogurt at home sooner!
Ingredients of Homemade Yogurt
Making homemade yogurt is like magic in your kitchen. Seriously, it’s just milk and a bit of yogurt, and you end up with this creamy, tangy delight that’s way better than anything you can buy at the store.
Plus, you get to be the boss of the ingredients. Want it thick and rich? You got it. Prefer a lighter texture? No problem. And don’t even get me started on the flavor possibilities—fruits, honey, or even jam can transform your yogurt into something truly special.
It’s a fun project that’s surprisingly easy, and trust me, once you take that first spoonful of your homemade creation, you’ll never look back.
Here’s what you need to whip up your own batch of homemade yogurt:
- 1 quart milk (choose from whole, 2%, or 1%)
- 1/4 cup plain yogurt (make sure it has live cultures)
- 3 quart jars (plastic or glass)
- A thermal cooler bag or a small ice chest
- Boiling water (for keeping the jars warm)
Now, let’s talk about those ingredients for a minute. The milk is the star of the show, so go for the best quality you can find—whether that’s organic, local, or whatever floats your boat.
The plain yogurt you choose should have live cultures listed on the label, as those little bacteria are what turn your milk into yogurt. If you’re feeling adventurous, you can even save a bit of your homemade yogurt to start your next batch, like a proud little yogurt-making tradition.
And remember, the jars and cooler aren’t just for show; they help maintain the warmth needed for the yogurt to ferment properly. So, don’t skip that part. Trust me, it’s all about creating the perfect environment for your yogurt to thrive.
Happy yogurt-making!
How to Make Homemade Yogurt
Making homemade yogurt is an adventure that begins in your kitchen with just a few simple ingredients. First things first, grab 1 quart of milk—whether you prefer whole, 2%, or 1%, it’s your choice. The quality of the milk really matters, so if you can snag something local or organic, you’ll be off to a great start.
Now, heat that milk up to 180 degrees. If you don’t have a thermometer, no worries! Just heat it until you see bubbles forming around the edges. I usually pop my milk in the microwave for about three minutes, and it works like a charm. This step is essential because it helps to kill off any unwanted bacteria and sets the stage for our friendly yogurt cultures.
Once the milk is heated, let it cool down to about 140 degrees, or until it feels warm to the touch. This is where the magic happens. Take 1/4 cup of plain yogurt—make sure it has live cultures, as that’s the secret sauce for transforming your milk into yogurt—and stir it into the warm milk. Mix it gently but well, so those little cultures can get cozy and start doing their thing.
Now, you’ll want to prepare your jars. Fill two of your quart jars with boiling water; this will help maintain warmth. Place all three jars—the one with your milk and yogurt mixture, plus the two filled with boiling water—into a thermal cooler bag or a small ice chest. Cover everything with some towels to keep the heat in. Now, set it aside for about six hours. You can even take this on a camping trip, using a hand warmer for a bit of extra heat if you’re feeling adventurous.
After the six-hour wait—yes, it’s a bit torturous, but think of the creamy goodness awaiting you—remove your yogurt from the bag. It should have thickened nicely. Give it a gentle stir, and if you’re feeling fancy, now’s the time to add in some flavorings like pureed fruit or your favorite jam.
But here’s a little tip: remember to save 1/4 cup of your delicious creation to kick-start your next batch. Trust me, once you take that first taste of your homemade yogurt, you’ll be hooked—no store-bought stuff can compete with this creamy delight.
Happy yogurt-making, and may your kitchen be filled with the joy of tangy goodness!
Homemade Yogurt Substitutions & Variations
While experimenting with homemade yogurt is a delightful journey, it’s also fun to explore substitutions and variations that can elevate your yogurt-making experience.
For instance, you can use almond milk or coconut milk instead of cow’s milk for a dairy-free option. If you’re looking for a tangier flavor, try adding a bit of lemon juice or apple cider vinegar.
To sweeten, honey or maple syrup works wonders, and for a burst of flavor, I love blending in fresh or frozen fruits.
Don’t forget, you can also mix in spices like cinnamon or vanilla for a unique twist on your yogurt!
What to Serve with Homemade Yogurt
After you’ve perfected your homemade yogurt, it’s time to think about how to enjoy it.
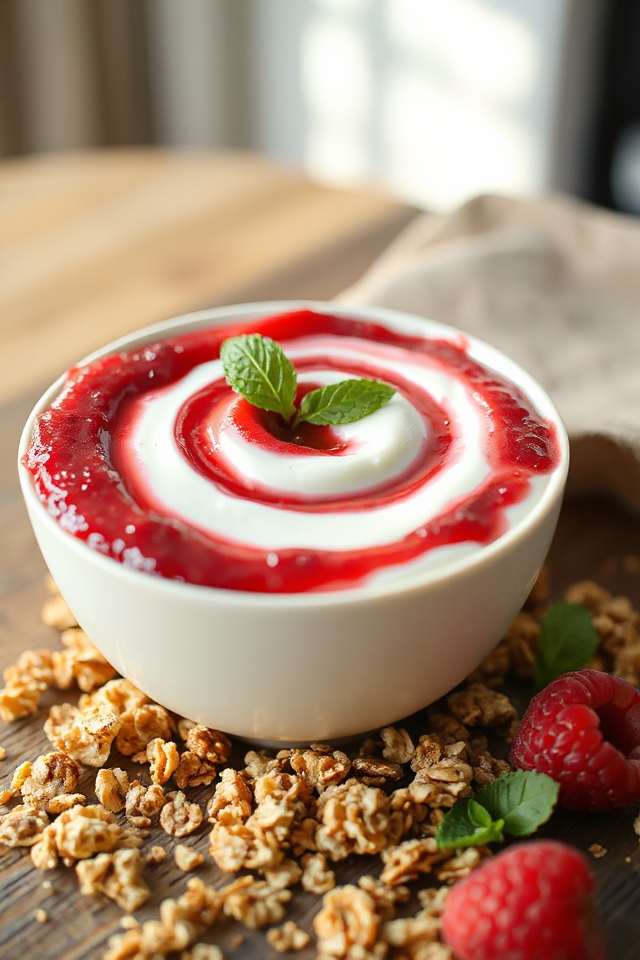
I love serving it with fresh fruits like berries or sliced bananas for a revitalizing breakfast. Drizzling honey or maple syrup adds a touch of sweetness, too.
For a heartier option, I mix in granola or nuts, creating a satisfying snack. Sometimes, I even use it as a base for smoothies, blending it with spinach or other greens.
You can also pair yogurt with savory dishes like curries or use it as a dip for veggies. The possibilities are endless, and each combination is delicious!
Additional Tips & Notes
To guarantee your homemade yogurt turns out perfectly every time, I recommend using fresh ingredients, especially the yogurt starter. If you can, try to use organic milk for the best flavor.
Don’t forget that maintaining a consistent temperature is essential; I often wrap my jars in towels for extra warmth.
If you’re experimenting with flavors, start with small amounts to avoid overwhelming the yogurt.
Finally, remember to save a little from your batch to kickstart your next one—it’s a game changer!
Enjoy the process, and don’t hesitate to tweak it to suit your taste preferences. Happy yogurt-making!