Why You’ll Love This Homemade Chocolate Mousse Recipe
Indulgence is the perfect word to describe this homemade chocolate mousse recipe.
I can’t help but fall in love with its rich, velvety texture and deep chocolate flavor. It’s the kind of dessert that feels luxurious yet is surprisingly easy to whip up at home. Every spoonful melts in my mouth, leaving me craving more.
Plus, it’s versatile enough for dinner parties or quiet nights in. I appreciate how it impresses guests, yet it’s simple enough for a casual treat.
Trust me, once you try this mousse, you’ll find it hard to resist making it again and again!
Ingredients of Homemade Chocolate Mousse
Let’s explore the delightful world of homemade chocolate mousse. To whip up this luscious dessert, you’ll need a handful of ingredients that come together to create something truly magical.
Think about it—who wouldn’t want a dessert that feels like a treat from a fancy restaurant, but is actually made right in your kitchen? It’s like a little hug in a bowl, perfect for any occasion.
So, let’s get to it and gather what you need to make this heavenly mousse.
Ingredients for Homemade Chocolate Mousse:
- 3 cups heavy cream
- 12 ounces chocolate chips (bittersweet or semisweet)
- 1 tablespoon unflavored gelatin
- 2 tablespoons brandy (or other liqueur) or 2 tablespoons Bourbon (or other liqueur)
- 1 cup milk
Now, here’s a little food for thought: when choosing your chocolate chips, don’t just grab any old bag. Go for the good stuff—bittersweet or semisweet chocolate will really elevate the flavor.
Trust me, the difference in taste is like night and day. And if you’re feeling adventurous, you might want to swap in a flavored liqueur instead of brandy or bourbon.
Imagine a splash of orange liqueur or even coffee-flavored—how exciting would that be? Just remember, the quality of your ingredients will shine through in your mousse, so don’t skimp on them.
Happy cooking!
How to Make Homemade Chocolate Mousse
Alright, let’s plunge into the wonderfully creamy world of homemade chocolate mousse. First things first, grab your 12 ounces of chocolate chips—whether you go bittersweet or semisweet is totally up to your taste buds. You’ll want to toss those chips into a medium-sized mixing bowl and set them aside.
Next, take 1 cup of milk and pour it into a small pot. Heat that over medium heat until it just starts to simmer. You’re looking for those little bubbles to form, but don’t let it boil—nobody wants a chocolate disaster on their hands.
Now, while that milk is warming, it’s time to activate our secret weapon, the 1 tablespoon of unflavored gelatin. Sprinkle that gelatin into a small cup or bowl, and then add 2 tablespoons of brandy or bourbon. Give it a little stir and let it sit for a moment. The gelatin will absorb the liquid and get all nice and soft, ready to work its magic.
When your milk is simmering, reduce the heat and whisk in the gelatin-brandy mix until it’s fully incorporated. Pour this warm mixture over your chocolate chips, and let it sit for about a minute. This is the point where patience is key—don’t rush it. After a minute, grab your whisk again and stir until the chocolate is completely melted and smooth. It’s like a warm hug for your taste buds, isn’t it?
While that chocolatey goodness is cooling to room temperature (feel free to pop it in the fridge to speed things up), it’s time to whip up the heavy cream. You’ll need 3 cups of it, and using an electric mixer, whip that cream until it forms stiff peaks. But watch it closely—nobody wants butter when you’re after mousse.
Once your chocolate has cooled down, gently fold it into the whipped cream. This is where the magic really happens. Use a spatula and fold carefully, so you don’t deflate all that airy goodness.
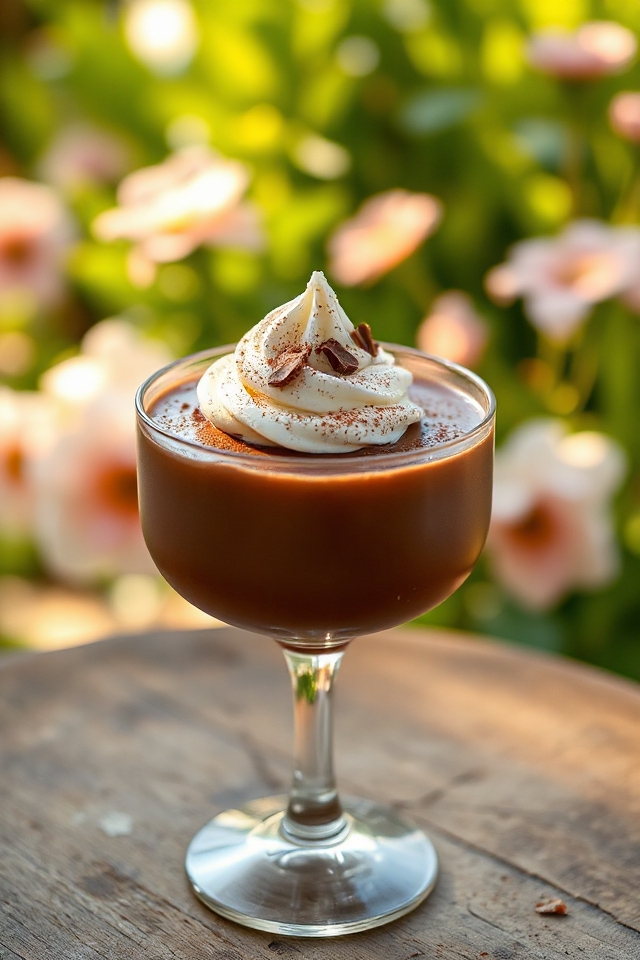
Once combined, you can either spoon this silky mousse into wine glasses for an elegant touch or pour it into a lined loaf pan, cover it up, and let it chill in the fridge for a few hours or overnight. The waiting is the hardest part, but trust me, the final result is worth every second. Enjoy your homemade chocolate mousse, a dessert that feels fancy but is surprisingly simple to whip up at home!
Homemade Chocolate Mousse Substitutions & Variations
If you’re looking to put your own twist on homemade chocolate mousse, there are plenty of substitutions and variations you can explore.
For a dairy-free option, try coconut cream instead of heavy cream. You can also swap the chocolate chips for white chocolate or even dark chocolate for a richer flavor.
If you want a fruity kick, consider adding a splash of orange or raspberry liqueur instead of brandy.
For an extra layer of texture, fold in crushed cookies or nuts.
Don’t hesitate to experiment with flavored extracts like peppermint or almond for a unique twist that reflects your taste!
What to Serve with Homemade Chocolate Mousse
What pairs best with homemade chocolate mousse? I love serving it alongside fresh berries—raspberries or strawberries add a delightful contrast.
A sprinkle of sea salt enhances the chocolate’s richness, while a dollop of whipped cream on top makes it even more indulgent.
If I’m feeling fancy, I might add a biscotti or a shortbread cookie for some crunch. A shot of espresso or a glass of dessert wine can elevate the experience too.
Ultimately, I find that simple, complementary flavors work best to balance the mousse’s decadence and create a truly unforgettable dessert.
Additional Tips & Notes
While making chocolate mousse is straightforward, a few additional tips can elevate your dessert to new heights.
First, choose high-quality chocolate; it really makes a difference in flavor. If you want a richer mousse, consider adding a pinch of sea salt to the chocolate mixture.
When whipping the cream, stop just before stiff peaks for a lighter texture. For a fun twist, incorporate your favorite extracts, like vanilla or orange.
Finally, let the mousse chill overnight for the best flavor and texture. Trust me, your guests will notice the difference, and you’ll feel like a dessert pro!