Why You’ll Love This Homemade Soy Milk Recipe
You’ll love this homemade soy milk recipe for its simplicity and delicious flavor.
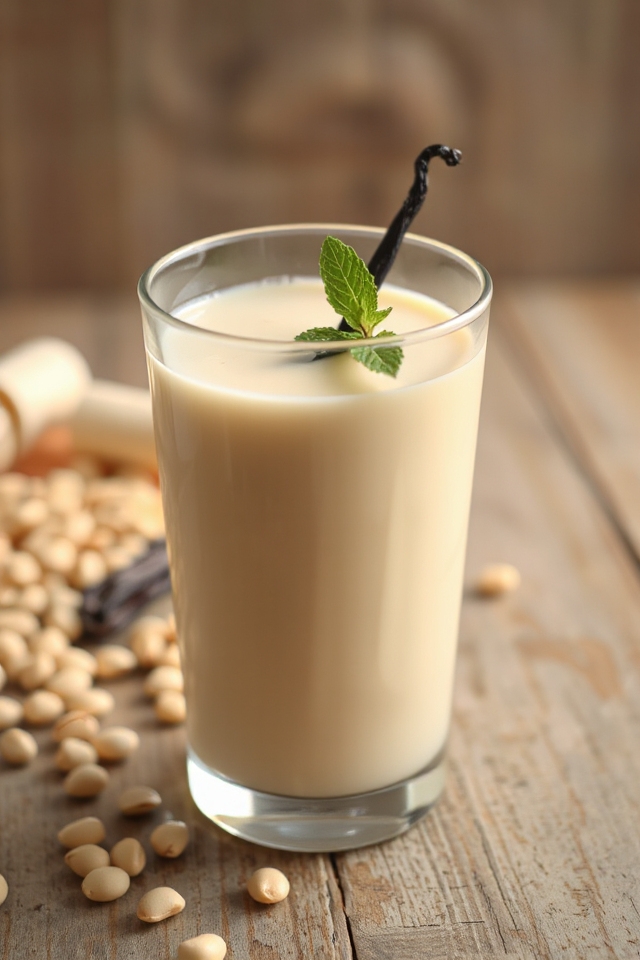
I find that making soy milk at home not only saves money but also allows me to control the ingredients. There’s something satisfying about soaking the beans and blending them to create a fresh, creamy beverage.
The taste is far superior to store-bought options, and I can customize it to my liking. Plus, it’s a fantastic dairy alternative for smoothies, coffee, or just sipping chilled.
Once you try this easy method, I’m sure you’ll appreciate the wholesome goodness of your very own homemade soy milk!
Ingredients of Homemade Soy Milk
When it comes to whipping up your very own batch of homemade soy milk, the ingredient list is invigoratingly straightforward. You won’t need any fancy additives or preservatives—just some basic components that you might already have in your kitchen.
So, let’s plunge into what you need to create this creamy, dreamy soy milk that’s sure to elevate your morning routine or snack time.
Ingredients for Homemade Soy Milk:
- 1/2 lb of soybeans
- Water (for soaking and blending)
- Cheesecloth or any porous cloth (for straining)
Now, you might find yourself wondering about the soybeans. Choosing high-quality, organic soybeans can make a difference in flavor and nutrition. You want those little beans to be plump and vibrant, which usually means they’ve been stored well.
And don’t worry if you’re not familiar with cheesecloth—it’s just a fancy name for a thin, porous fabric that lets the liquid pass through while keeping the solid bits contained. If you don’t have cheesecloth, you can use a clean dish towel or even a coffee filter in a pinch.
Just remember, the smoother the strain, the creamier your milk will be. So grab your ingredients and get ready to blend your way to soy milk bliss!
How to Make Homemade Soy Milk
Making your own homemade soy milk is surprisingly simple and quite rewarding. The first step in this delightful journey is to take 1/2 lb of soybeans and soak them in water for a full 24 hours. Yes, you read that right—24 hours! This soaking not only softens the beans but also helps to release some of those pesky hulls, which you’ll want to get rid of later. Make sure to change the water a couple of times during that soaking period. It’s a bit of a waiting game, but trust me, the wait is worth it.
Once your beans have soaked and are all plump and ready to go, rinse them off and give them a little rub between your hands. This step is key; it helps loosen those stubborn hulls. After rinsing, measure out a cup of the beans and toss them into your blender. Add 2 cups of fresh water to the blender and blend away until the mixture is as smooth as possible. You might think you’re making a mess, but don’t worry, it’s all part of the process.
Once you’ve blended the first batch, rinse out your blender with another cup of water and repeat with the remaining beans. When all the blending is done, you’ll have a big, creamy mixture ready for the next step.
Now comes the fun part—cooking and straining. Pour your blended mixture into a large pan and bring it to a boil. Once it’s bubbling away, reduce the heat and let it simmer for about an hour. This is where the magic happens, as the flavors meld and develop.
After simmering, it’s time to strain the mixture through your cheesecloth or a porous cloth. This is where the real work comes in; you’ll want to squeeze as much of the “milk” out as possible. Don’t be shy—give it a good squeeze!
Voila, you now have your very own homemade soy milk. It mightn’t be perfect on the first try (who else has made a mess in the kitchen?), but each batch will get you closer to soy milk mastery. Enjoy your creation as is, or get creative with flavors and additions. Happy blending!
Homemade Soy Milk Substitutions & Variations
Now that you’ve mastered the art of making homemade soy milk, it’s time to explore some exciting substitutions and variations to personalize your creation.
For a creamier texture, try adding a handful of soaked cashews or almonds during blending.
If you enjoy sweetness, a splash of vanilla extract or a couple of dates can enhance the flavor.
You can also play with spices like cinnamon or nutmeg for a cozy twist.
For a protein boost, mix in some hemp seeds.
Don’t hesitate to experiment; each variation can lead to a delightful new favorite that suits your taste perfectly!
What to Serve with Homemade Soy Milk
While enjoying a rejuvenating glass of homemade soy milk, you might wonder what delicious pairings can enhance your experience.
I love serving it alongside a warm slice of whole grain toast topped with almond butter and sliced bananas. It also complements a bowl of oatmeal, adding creaminess and flavor.
For a light snack, try pairing it with fresh fruit or a handful of nuts. You can even enjoy it in smoothies, blending it with greens and berries for a nutritious treat.
Each of these options not only elevates the taste but also boosts your overall meal enjoyment.
Additional Tips & Notes
To guarantee your homemade soy milk turns out perfectly, it’s important to pay attention to the soaking process.
I recommend soaking the soybeans for a full 24 hours, changing the water halfway through. This assures they soften properly, making blending easier.
Don’t forget to rub the beans to loosen the hulls before blending; it makes a significant difference!
When straining, use a fine cheesecloth for a smoother texture.
If you like sweetened soy milk, consider adding a bit of vanilla or your favorite sweetener during the blending process.
Enjoy experimenting with flavors; it’s all part of the fun!