Why You’ll Love This Homemade Thin Mints Recipe
If you’re a fan of the classic Girl Scout cookie, you’ll absolutely love this homemade Thin Mints recipe.
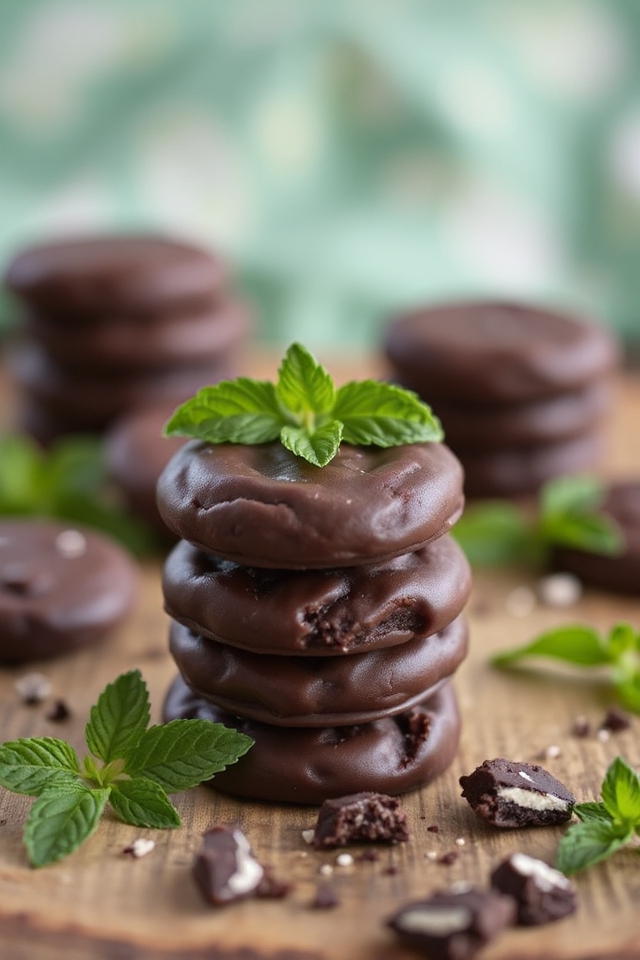
There’s something special about creating them from scratch, and the taste is just unbeatable. You get that rich chocolate flavor paired with a revitalizing minty kick, all in a perfectly crunchy cookie.
Plus, I love knowing exactly what’s in my treats—no mystery ingredients here! Making these cookies is a fun way to spend an afternoon, and they’re perfect for sharing or indulging alone.
Trust me, once you try these, you’ll never want to go back to the store-bought version again!
Ingredients of Homemade Thin Mints
When it comes to baking, the right ingredients can make all the difference, especially for a classic treat like homemade Thin Mints. This recipe uses a handful of simple ingredients that you might already have in your pantry.
The beauty of making these cookies at home is that you know exactly what goes into them, and you can adjust anything to fit your taste. Let’s plunge into what you’ll need for this delightful cookie adventure.
Here’s a list of the ingredients for homemade Thin Mints:
- 1 cup unsalted butter, at room temperature
- 1 cup unsweetened cocoa powder (Dutched dark cocoa works well)
- 1 cup powdered sugar
- 1 teaspoon vanilla extract
- 3/4 teaspoon salt
- 1 1/2 cups all-purpose flour (fluff it up before measuring)
- 16 ounces semisweet baking chocolate
- 1 teaspoon vegetable oil
- 1 teaspoon peppermint extract
Now, while you gather these ingredients, let me just say: don’t skimp on the quality of your cocoa powder or chocolate. The more delicious the cocoa, the more scrumptious your cookies will be.
And when it comes to peppermint, it’s best to stick to the extract for that perfect minty punch—trust me, nobody wants to bite into a cookie and taste toothpaste. Just keep it simple and fresh, and you’ll be well on your way to cookie perfection.
Plus, remember to fluff that flour before measuring, or you might end up with a dry dough. We don’t want that, do we?
How to Make Homemade Thin Mints
Alright, let’s explore the delicious world of making your own Homemade Thin Mints. Grab your 1 cup of unsalted butter and start by creaming it in a large mixing bowl. You want it to be light and fluffy—think clouds, but buttery.
Once you’ve achieved that dreamy texture, toss in 1 cup of powdered sugar and mix until everything is nicely combined. Now comes the fun part—add in 1 teaspoon of vanilla extract and 3/4 teaspoon of salt, followed by 1 cup of unsweetened cocoa powder. You’ll want to mix this until it looks like thick, rich frosting. Seriously, it’s hard not to sneak a taste at this stage, but let’s try to keep our focus, shall we?
Next, it’s time to bring in the flour. Measure out 1 1/2 cups of all-purpose flour, but remember to fluff it before scooping to avoid a dry dough—nobody wants that. Gently mix the flour into your chocolatey goodness until just combined. Overmixing is a common pitfall, so be cautious.
Once you have a cohesive dough, shape it into a ball, then flatten it into a disk about 1/2 to 1-inch thick. Wrap it in plastic wrap and pop it in the freezer for about 15 minutes. This step is essential for making it easier to roll out later.
After your dough has chilled, roll it out on a floured surface until it’s about 1/8-inch thick. You can use a 1 1/2-inch cookie cutter (or an old cordial glass if you’re feeling adventurous) to cut out your cookies. Place them on a baking sheet and bake at 350°F for 10 minutes.
While those little rounds of joy are baking, let’s prepare the peppermint coating. Chop up 16 ounces of semisweet baking chocolate and combine it with 1 teaspoon of vegetable oil in a microwave-safe container. Melt it down in short bursts, stirring in between, until it’s smooth and glossy.
Stir in 1 teaspoon of peppermint extract, and then get ready for the fun part. Once your cookies cool completely, dip each one into that luscious chocolate coating, allowing the excess to drip off before placing them on parchment paper.
Let them set, either at room temperature or in the fridge if you prefer, and there you have it—your very own Homemade Thin Mints, ready to be devoured. Enjoy the sweet victory of your baking skills!
Homemade Thin Mints Substitutions & Variations
While making Homemade Thin Mints is a delightful experience, there’s always room for creativity with substitutions and variations.
For a gluten-free version, I’ve swapped all-purpose flour for almond or coconut flour. If you’re craving a different flavor, try adding a splash of orange extract instead of peppermint!
You can also experiment with dark chocolate or white chocolate for coating, depending on your taste. For a sweeter cookie, increase the powdered sugar slightly.
Don’t forget, you can always adjust the cocoa powder to create a richer chocolate flavor. Enjoy customizing these cookies to make them truly your own!
What to Serve with Homemade Thin Mints
To elevate your Homemade Thin Mints experience, consider pairing them with a steaming cup of peppermint tea or rich hot chocolate. The warm, comforting beverages complement the cool minty taste of the cookies beautifully.
If you’re feeling adventurous, why not serve them alongside a scoop of vanilla ice cream? The creamy texture contrasts nicely with the crisp cookies and adds a delightful twist.
For a more festive touch, try a splash of Irish cream liqueur in your hot chocolate. It enhances the flavors and makes for a cozy evening treat.
Enjoy experimenting with these pairings!
Additional Tips & Notes
If you want to guarantee your Homemade Thin Mints turn out perfectly, there are a few tips to keep in mind.
First, don’t skip chilling the dough; it makes rolling easier. When you cut the cookies, make certain they’re uniform for even baking.
If your coating’s too thick, add a bit more oil for a smoother dip. I also recommend using high-quality chocolate for the best flavor.
Finally, if you want a more intense minty taste, adjust the peppermint extract carefully—start with a little and add more if needed.
Enjoy these cookies with friends or family; they’ll disappear fast!